Hey, new non-photography-professional mamas and daddies! If you’re looking to continue the photographic journey after your professional photographer has packed up their big ole camera and left, here are three tips to help you capture more photos (even with just your phone) of your everyday life with your newest family member on your own.
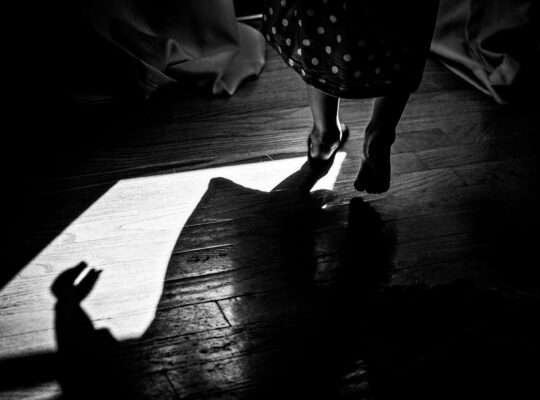
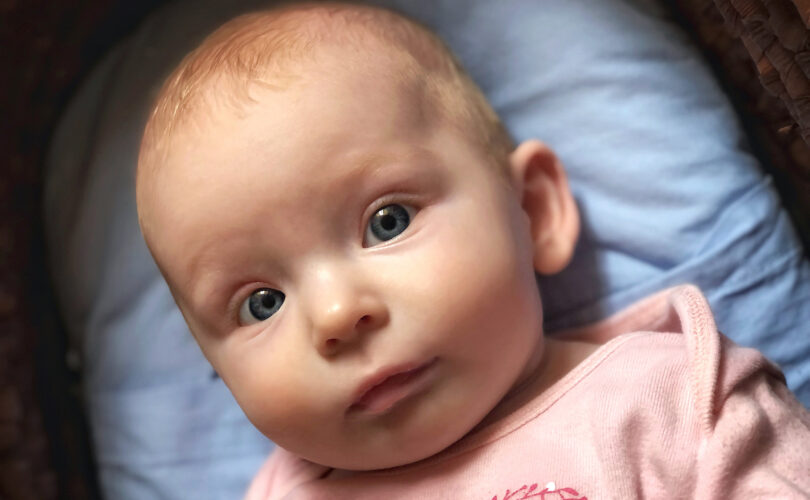
1 – Try to face a window to use natural light. Not direct sunlight, so if that’s what’s coming in, let that light either move some or pull some sheer curtains over the window to filter it. Natural light will fill in shadows so that Baby’s softness is more enhanced instead of creating deep, dark shadowy creases. Also, if Baby is awake, natural light will enhance Baby’s beautiful eyes.
Turn off overhead lights, if possible. They can give uneven lighting and create harsh shadows.
If natural lighting is a problem, you can try to use lamps to create some fill lighting. This might be a combination of actually using overhead lighting coupled with a few strategically placed lamps on the floor. Play around and watch the shadows. You don’t need complete lighting to create a beautiful image.
2 – Close-up shots are beautiful, but in many cases, lens distortion can occur with phones or point-and-shoot cameras. Lens distortion means your baby’s face can look wider or a nose bigger than it actually is. That can be frustrating when you’re trying so hard to capture all those tiny details. It’s OK to back up some. If you’re on an iPhone, for example, you might choose the Portrait option instead for a softer look.
3 – Use your timer so you can be in the picture without it being the usual in-your-face selfie. (See lens distortion – same applies.) Moms and dads NEED to be in the photos! It does not matter if your hair is fixed or your face perfect. Just get in and document the moments. You won’t care when you look back. And your child will only care about the love (and sure, sometimes they make fun of your hair or clothes, but that’s part of the fun, too).
Bonus Tips
4 – Download a free photo editing app like Snapseed. Such a program can help you process the pictures you take on your phone and create a beautiful final image. I have many photos I’ve taken with my phone and processed on my phone, and then the prints are beautiful. People often can’t even tell the difference.
5 – Make sure you’re taking photos with your settings on the largest size available. For one, you want to be able to print large when you capture the perfect shot. And two, since you can’t get those extreme closeups without lens distortion, having larger sizes will give you more ability to crop in closer while still leaving plenty of picture to print.
6 – PRINT YOUR IMAGES! Don’t leave them on your phone or computer. Get them onto paper and onto your walls!